One of the most exhilarating, yet daunting tasks, for a new parent is designing the scheme for their baby’s nursery. This is, after all, where their new child is going to spend a large amount of their formative years, so nothing less than perfect will do, right?
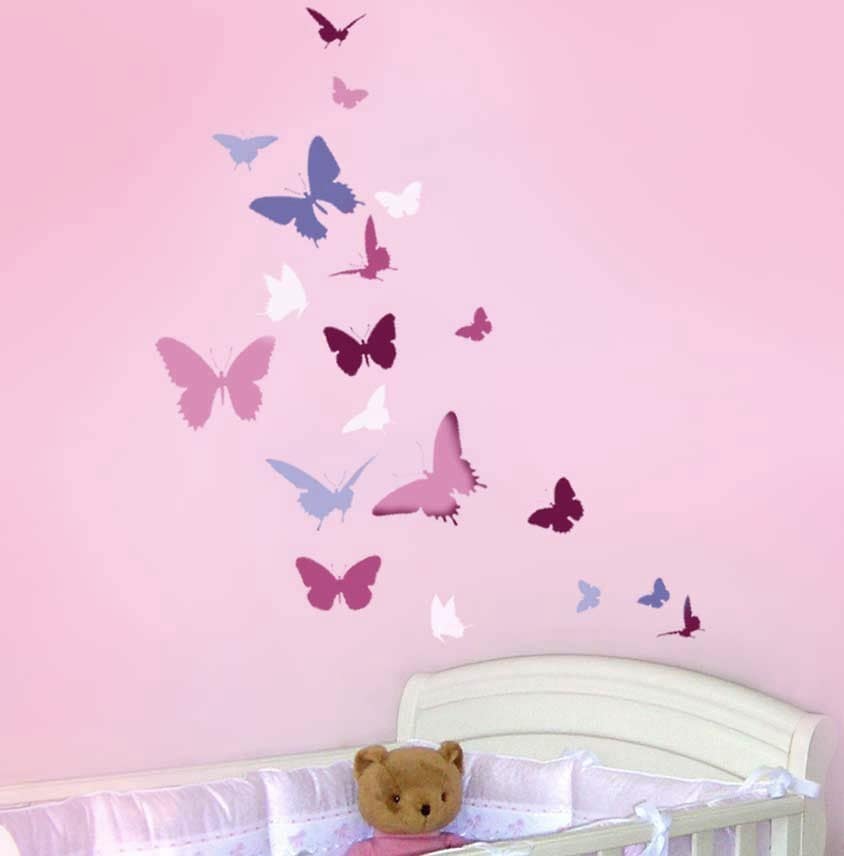
This inevitably means a blind panic, trying to make sure every single item in the room fits into the idealised look that you want for your new boy or girl; the crib, cradle or bassinet has to have the comfiest blanket possible, and the walls have to be coated in the most soothing of colors, also. The key is calm, but not drab, so often it is a good idea to accessorise with toys and even quilts and throws. However, I personally have found that one of the best ways to add a bit of sparkle to a room, without being overbearing, is to add a few subtle stencil designs on the wall. These can add a splash of color - and help to make the room feel much more personal and appealing.

The Art of Stenciling
Stencilling, you will be pleased to know, is not solely the domain of frustrated street artists; nor is it a skill that would take many years of studying at art school to master. In fact, stencilling represents a rather simple, yet highly effective, and ultimately rewarding, method of decorating. It can be used to easily add motifs or personalise a room’s appearance – from cowboys, aliens, angels or teddy bears to more wacky patterns – and can easily be added by following a simple set of instructions.
Step 1: Items You Will Need

Before jumping in head first, it is important to make sure you have the following items available – a sponge roller (I find the 4inch ones work best) plus adhesive spray, some acrylics and paints, stencil brushes and index cards and tapes. Also, bear in mind that you’ll need some old rags and newspapers too to make sure paint doesn’t get where you don’t want it - there’s no point in having a beautiful mural if there are unwanted flecks of paint splashed all over the rest of the room!
Step 2: Tape and Paint

In order to protect your room, cover the floor with newspapers and tape around the edges of the ceiling and the walls (the blue painter's tape is the best to use) to prevent any splash back. Once the room has been taped up, it is time to paint the walls in the color of your choice, as the background for the stencils. In addition to a roller, use angled brushes to paint the tricky edges and corners of the wall. Make sure the walls have a smooth finish - patches never look appealing - and if need be, leave to dry and then apply a second layer of paint. These walls will be your canvas!
Step 3: The Stenciling
Cut your stencils in advance from card – if it is your first time, please do not attempt anything too elaborate (unless you happen to be artistically inclined); this is advice I am giving from personal experience! You can also purchase stencil kits, if you are not so artistic.
Once cut to the desired shape, find the place on the wall that you wish to see your pattern and fix it in position using spray adhesive – this allows both hands to be free so your masterpiece can be completed. Note you can use several different stencils or, if you are making a motif, it is possible to move your stencil as you paint.
Avoid Runny and Smudgy Messes
Make sure the paint you use when filling in your stencil is thick and does not run. There is nothing worse in the entire world than a cowboy with a hat that runs into his face. A good way of making sure this does not happen is to dip your brush into paint so as to barely coat it, and then use one of your old cloths to dab off any excess. Make sure that your brush goes right up to the edge of your stencils to ensure crispness in your picture – an illusion which I’ve found can be heightened by using lighter colors in the centre of your image and darker colors around the edges.
Once the picture is complete it is really, really important to make sure that the image is not smudged when removing the stencil from the wall. Leave the paints to dry and be careful not to touch the image. Also, bear in mind that the back of your stencil may well have picked up some excess paint – make sure to wipe it if you intend to use it again.
If you can follow all of these instructions, with a little bit of time and care, you may well indeed end up with the dream nursery you had envisioned!
Kieron Casey is a BA (Hons) Journalism graduate who blogs regular on home and family issues including, health design and nursery bedding.
